Introduction
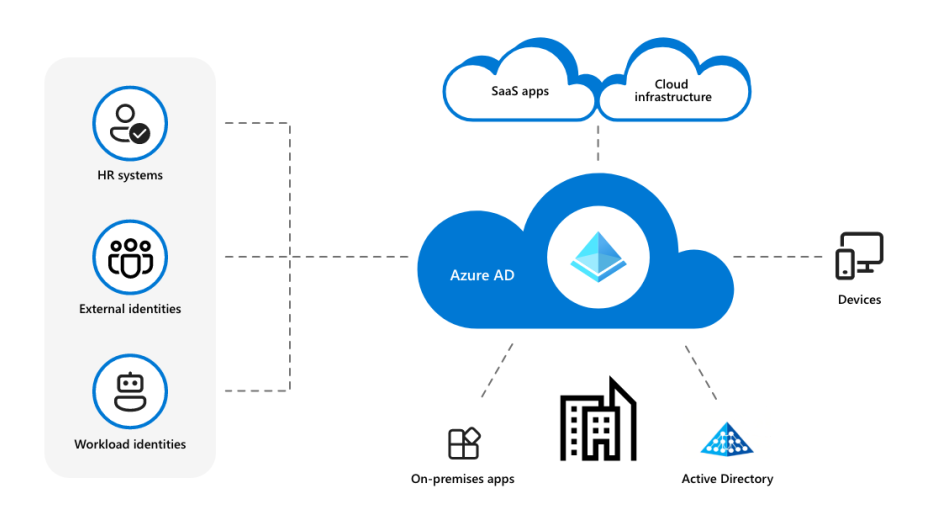
Azure Active Directory (Azure AD) is the cloud-based identity service from Microsoft which is commonly used when building enterprise applications on the Azure cloud platform.
This article will guide you through the process of creating a CLI application with Node.js that elegantly and securely authenticates users with their Azure Active Directory (AAD) credentials. The mechanism used for authentication is the OAuth 2.0 authorisation code flow with PKCE (Proof Key for Code Exchange), which is slightly a bit more complex than the client credentials flow that it’s more widely used, but also it is more secure and offers better and more granular control.
 pineviewlabs
This approach allows your application basically to operate in the context of the user, leveraging RBAC (role-based access control) and the principle of least privilege to minimise security risks and streamline access management.
The authentication using the code flow has a few advantages over the client credentials flow:
- User context: By authenticating users with their own credentials, the application operates in the context of the user, which allows for more fine-grained control and visibility of actions performed by the application. This is particularly useful for auditing and compliance purposes.
- Role-Based Access Control (RBAC): Authenticating users with their own credentials enables Role-Based Access Control, allowing you to define custom roles and assign them to users or groups. This way, you can ensure that users only have access to the resources and actions they are authorised for, reducing the risk of unauthorised access.
- Least privilege principle: User authentication promotes the principle of least privilege, ensuring that the application only has access to the resources and actions that the authenticated user is authorised to perform. This minimises the potential attack surface and limits the impact of potential security breaches.
- Revocation of access: User authentication allows for easier management of access control. If a user leaves the organisation or their role changes, their access can be easily revoked or updated without affecting the application itself.
- No shared secrets: When using client credentials, the application requires a client secret or certificate to authenticate. These secrets must be securely stored and managed, presenting potential security risks if not handled properly. User authentication with OAuth 2.0 and PKCE eliminates the need for shared secrets, as users authenticate through a secure authorisation server.
By default, all users in the same AD tenant as the application should be able to authenticate with it.
Step 1: Register your application in the Azure portal
- Sign in to the Azure portal (https://portal.azure.com/).
- Navigate to "Azure Active Directory" > "Add" > "App registration"
- Provide a name for your application, and under "Supported account types," choose the appropriate option for your needs.
- Leave the "Redirect URI" section empty for now. Click on "Register."
- Note the "Application (client) ID" and "Directory (tenant) ID" values for later use.
- Go to "Authentication" and click on "Add a platform." Choose "Mobile and desktop applications" and enter "http://localhost:3000/auth/callback" as the redirect URI.
Step 2: Assign the necessary API permissions
- In your app registration, go to "API permissions"
- Make sure that "Microsoft Graph > User.Read" is in the list of permissions. If not, click on "Add a permission" and search for "User.Read" in the list of available permissions.
Step 3: Set up the Node.js project
- Create a new directory for your CLI application and navigate to it in your terminal.
- Run
npm initto create apackage.jsonfile. Follow the prompts.
Install the necessary packages:
npm i commander @azure/msal-node express dotenv openStep 4: Implement the CLI application
Create a file called app.js in your project directory and add the following code:
import msal from '@azure/msal-node';
import express from 'express';
import open from 'open';
import dotenv from 'dotenv';
import {Command} from 'commander';

dotenv.config();

const clientId = process.env.AZURE_APP_CLIENT_ID;
const tenantId = process.env.AZURE_DIRECTORY_TENANT_ID;
const port = 3000;

const config = {
  auth: {
    clientId: clientId,
    authority: `https://login.microsoftonline.com/${tenantId}`,
    redirectUri: `http://localhost:${port}/auth/callback`,
  },
  system: {
    loggerOptions: {
      loggerCallback(loglevel, message, containsPii) {
        console.log(message);
      },
      piiLoggingEnabled: false,
      logLevel: msal.LogLevel.Info,
    },
  },
};

const pca = new msal.PublicClientApplication(config);
const app = express();

app.get('/auth/callback', async (req, res) => {
  const tokenRequest = {
    code: req.query.code,
    scopes: ['openid', 'profile', 'email'],
    redirectUri: `http://localhost:${port}/auth/callback`,
    codeVerifier: req.query.state,
  };

  try {
    const response = await pca.acquireTokenByCode(tokenRequest);
    console.log('Access token:', response.accessToken);
    res.send('Authentication successful! You can close the browser and check the console for your access token.');
    server.close();
  } catch (error) {
    console.error(error);
    res.status(500).send('Error during authentication.');
  }
});

async function loginCommand() {
  const authCodeUrlParameters = {
    scopes: ['openid', 'profile', 'email'],
    redirectUri: `http://localhost:${port}/auth/callback`,
    codeChallengeMethod: 'S256',
  };

  const authCodeUrlResponse = await pca.getAuthCodeUrl(authCodeUrlParameters);
  await open(authCodeUrlResponse);
}

const program = new Command();
program
  .command('login')
  .description('Authenticate the user and obtain an access token')
  .action(async () => {
    const server = app.listen(port, async () => {
      console.log(`Server is listening on port ${port}`);
    });

    await loginCommand();
  });

program.parse(process.argv);
Then create a file called .env in your project directory and define the AZURE_APP_CLIENT_ID and AZURE_DIRECTORY_TENANT_IDvariables with the values you noted earlier:
AZURE_APP_CLIENT_ID=<your client ID>
AZURE_DIRECTORY_TENANT_ID=<your tenant ID>
Step 5: Run the application
- Run
node app.jsto display the help message and make sure everything is working as expected. - Run
node app.js loginto authenticate the user and obtain an access token.
- The application will open a browser window and prompt you to sign in.
- After signing in, you will be redirected to the
http://localhost:3000/auth/callbackpage, which will display a message saying that authentication was successful and you can close the browser window. - The access token will be displayed in the terminal.
In conclusion
That's about it. Now we have a CLI app built in Node.js which is able to authenticate on the Microsoft identity platform using the OAuth 2.0 code flow with PKCE. You can also find the full source code for this tutorial on GitHub in our new Azure-samples repository, which contains a growing collection of samples for Azure services and technologies.